Today I will be showing you how to have a lot more control over the results you want to see in Artistly AI. There is a tool that can give you more unique generations based on your choice in various categories such as art style and perspective. This is going to be a longer tutorial, but trust me, it will be worth it.
Log into Artistly AI and select “Create Design” as always. Select the robot on the left which is the Fast AI Image Designer. Under “Image Designer v6,” select the second option of the long list of tools. This tool is called the “v4 Image Designer.” It gives you a lot of options that will allow you to customize your image deeply.
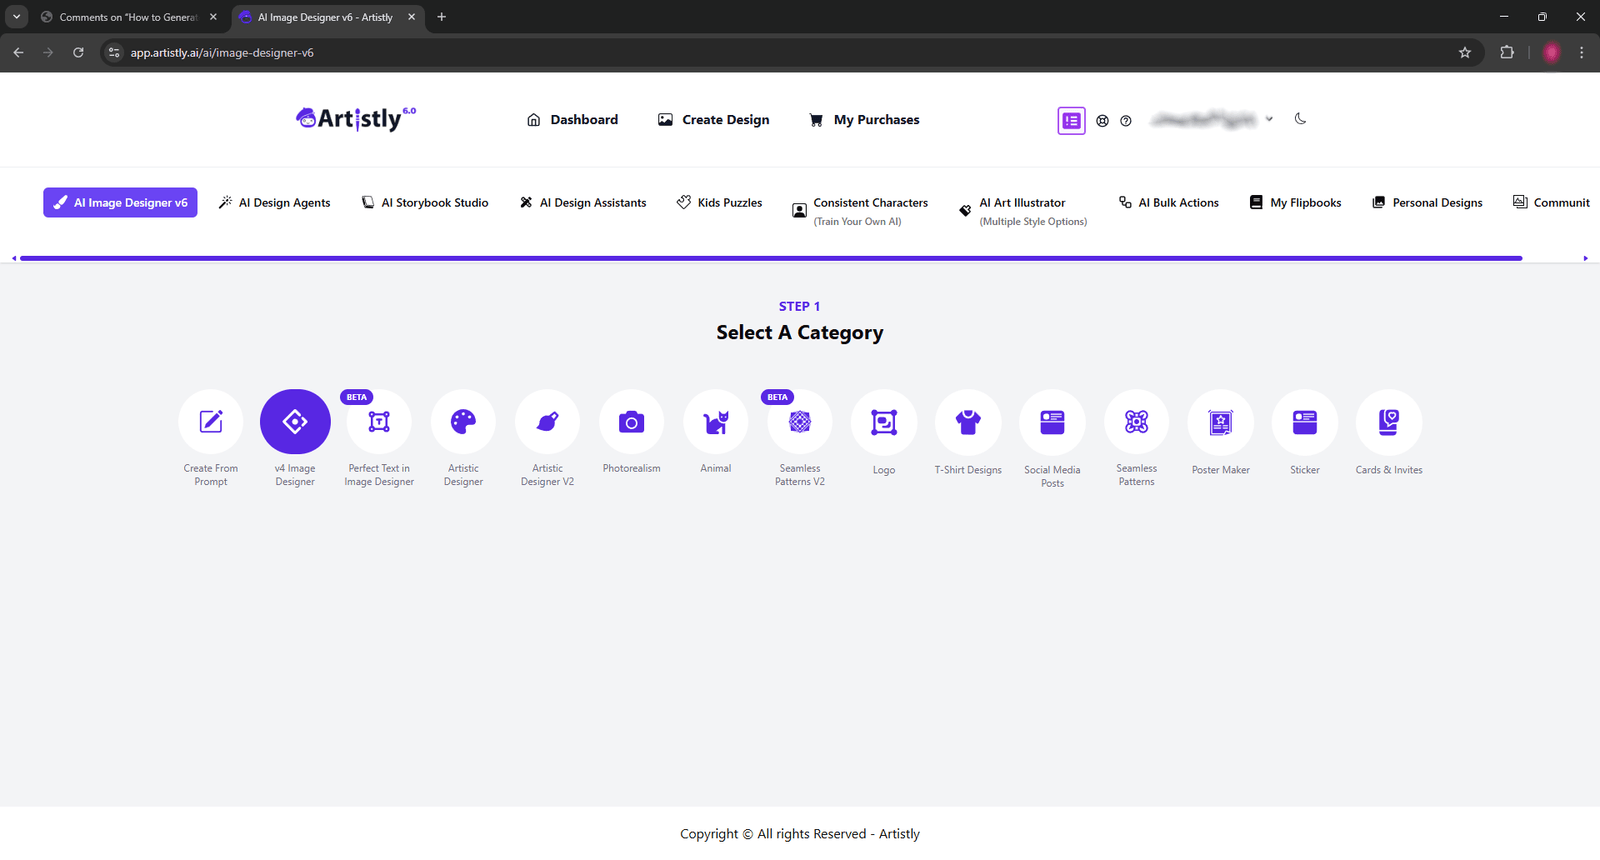
The interface will appear a lot like the “Create from Prompt” tool, with a simple box where you can type in your prompt.
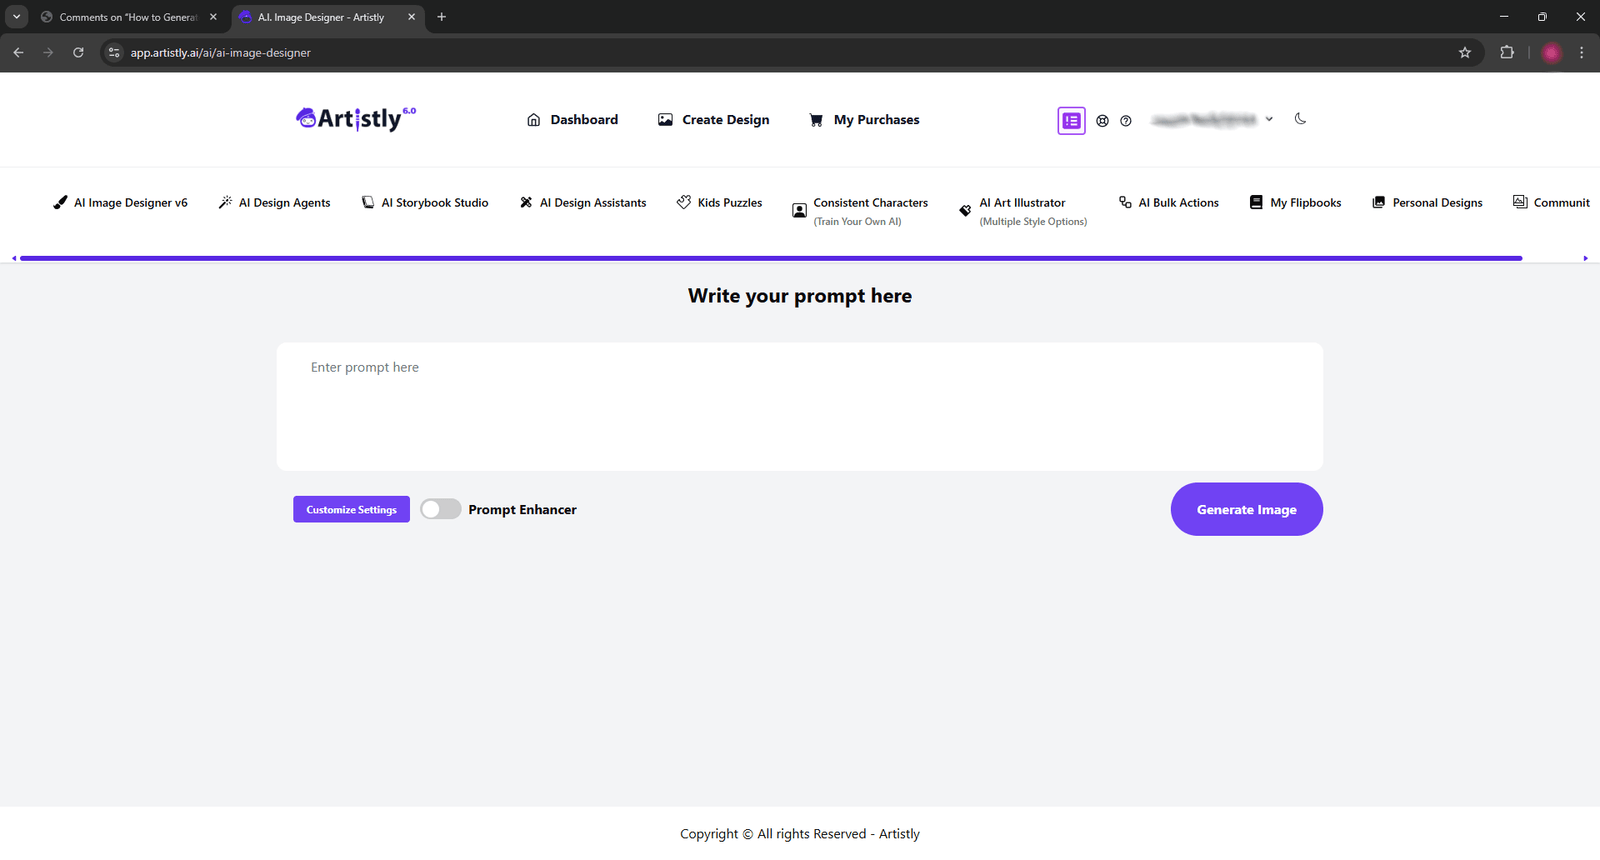
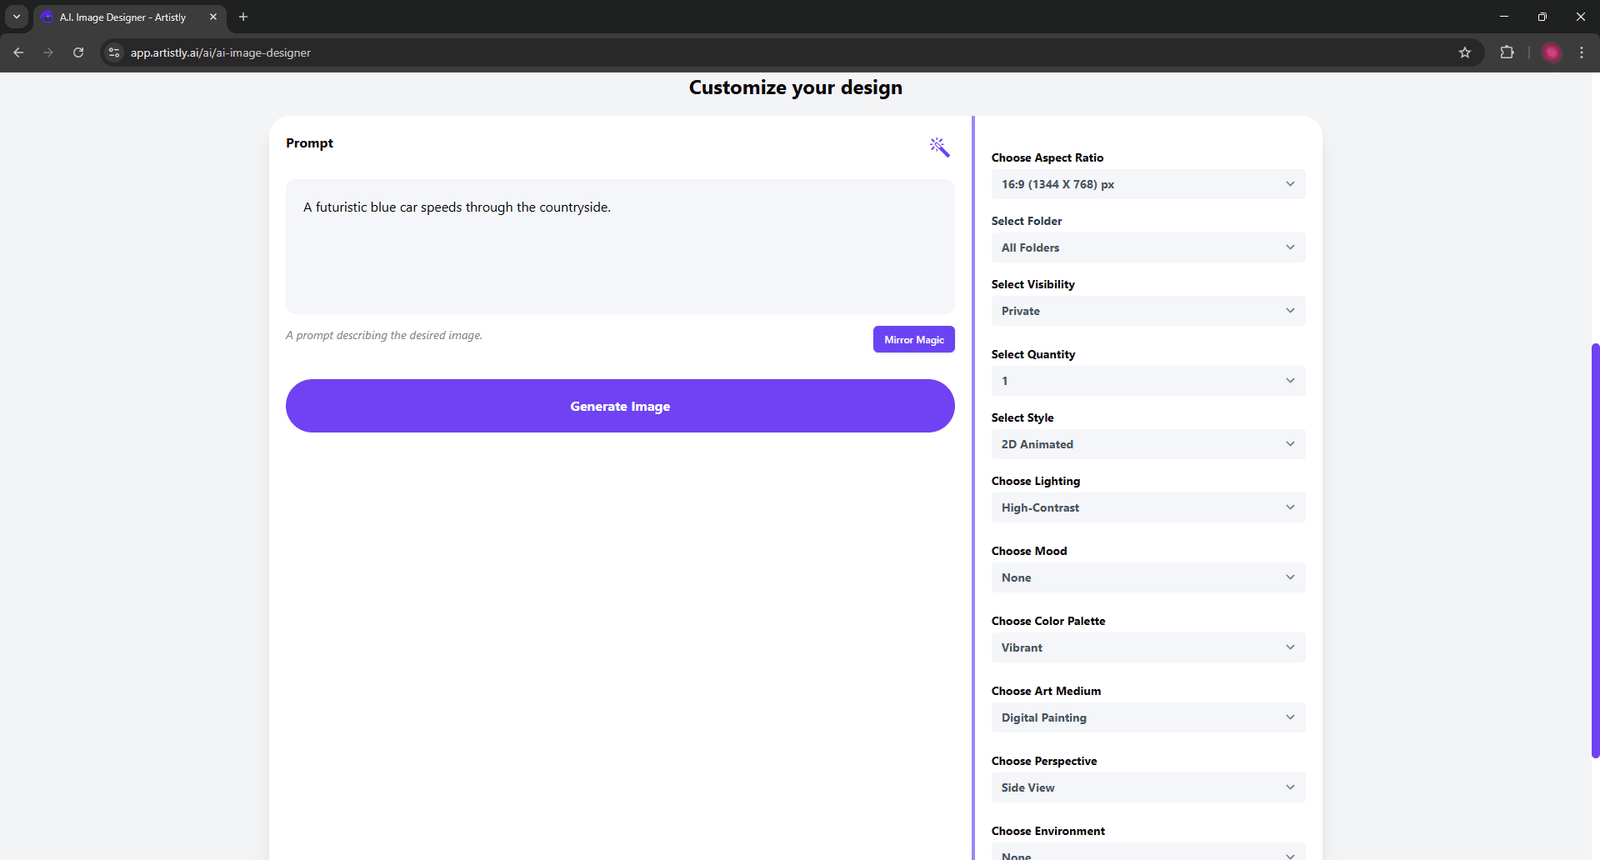
For this tutorial, I will be using the prompt: “A futuristic blue car speeds through the countryside.” Remember that you can use whatever prompt you like as long as it doesn’t violate Artistly’s Terms of Use.
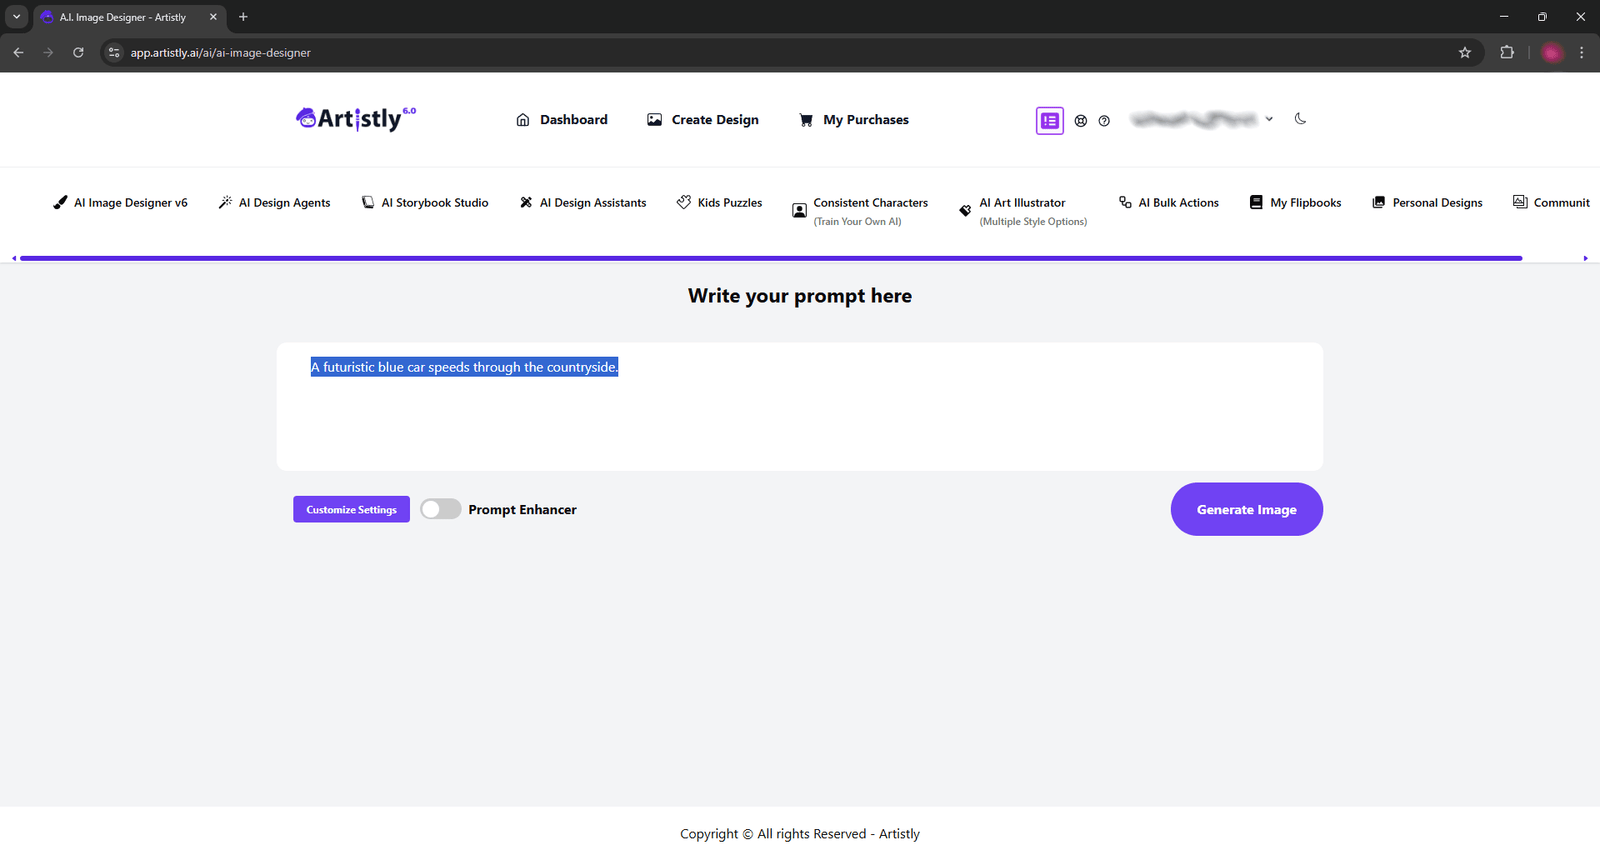
A toggle called “Prompt Enhancer” is found below the prompt box. Activate it and then select “Generate Prompt.”
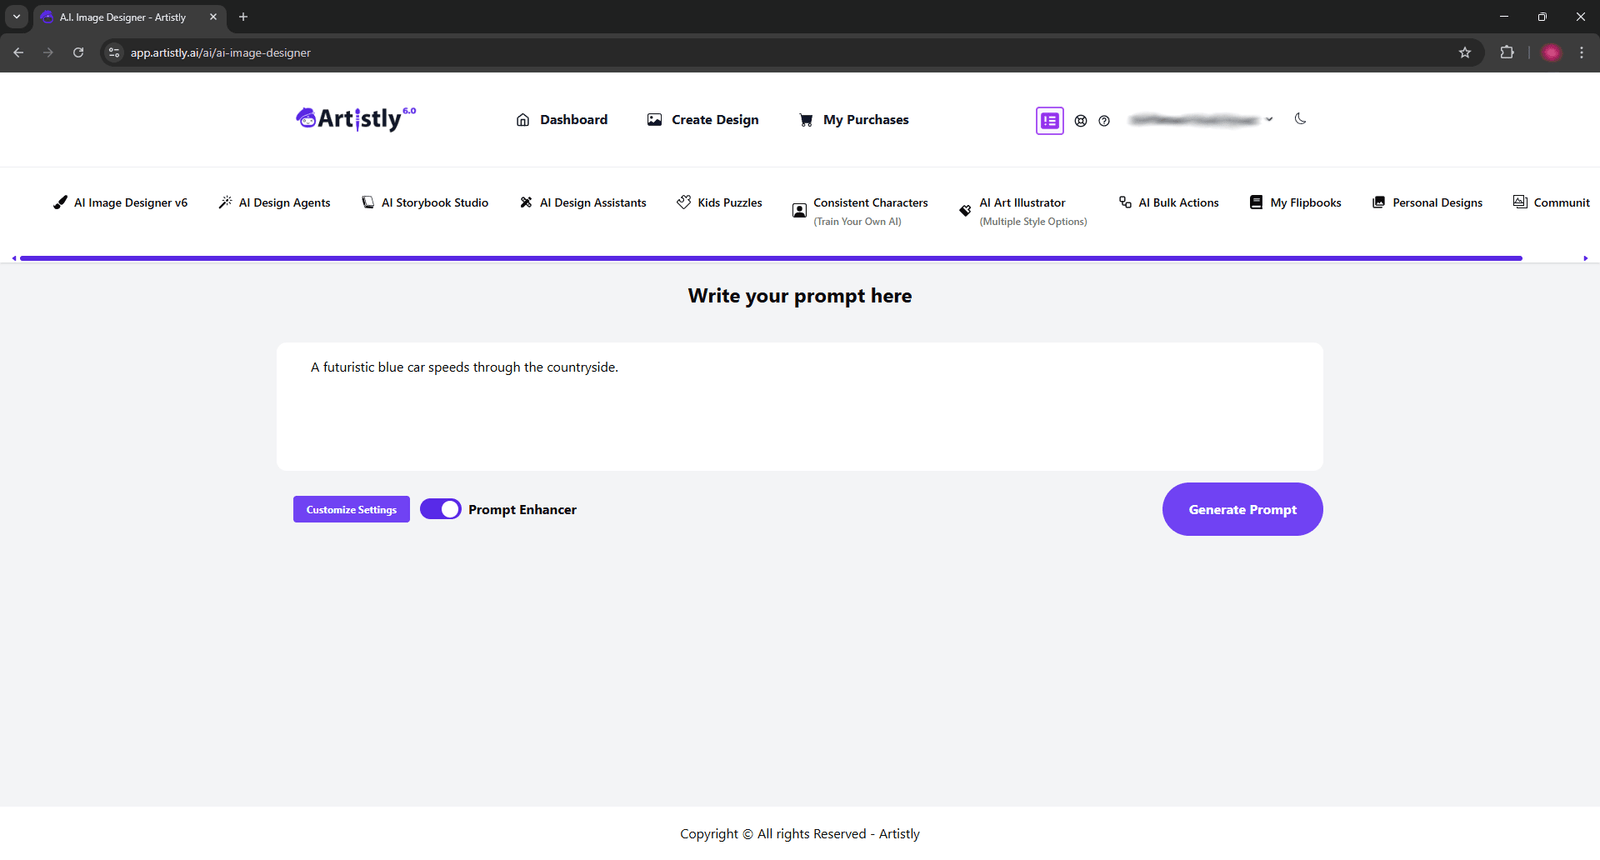
In a few seconds, you will get an insanely detailed version of the prompt you just entered. You can change whatever part you want, but I’ll keep my prompt the way it is for now. You may have noticed the huge menu to the right that appeared as soon as the prompt was generated. These can also be accessed with the Customize Settings button. We will look over these options one by one.
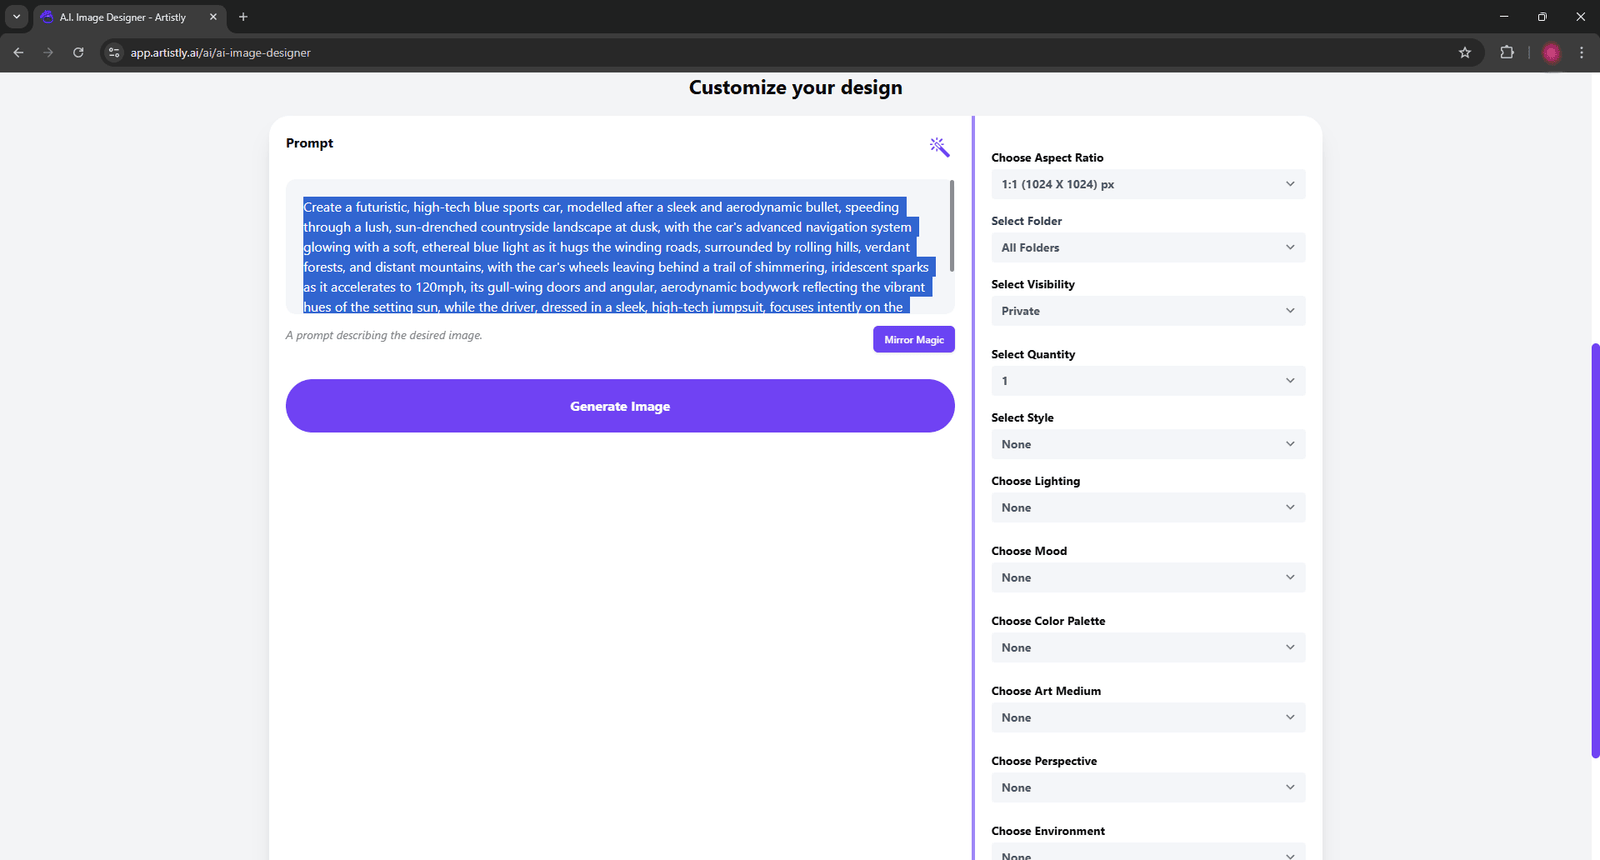
The first option is the aspect ratio. Basically, it determines if the image generated will be in portrait, landscape, or any other measure in between. For my image, I will keep the aspect ratio in 1:1, which is a perfect square.
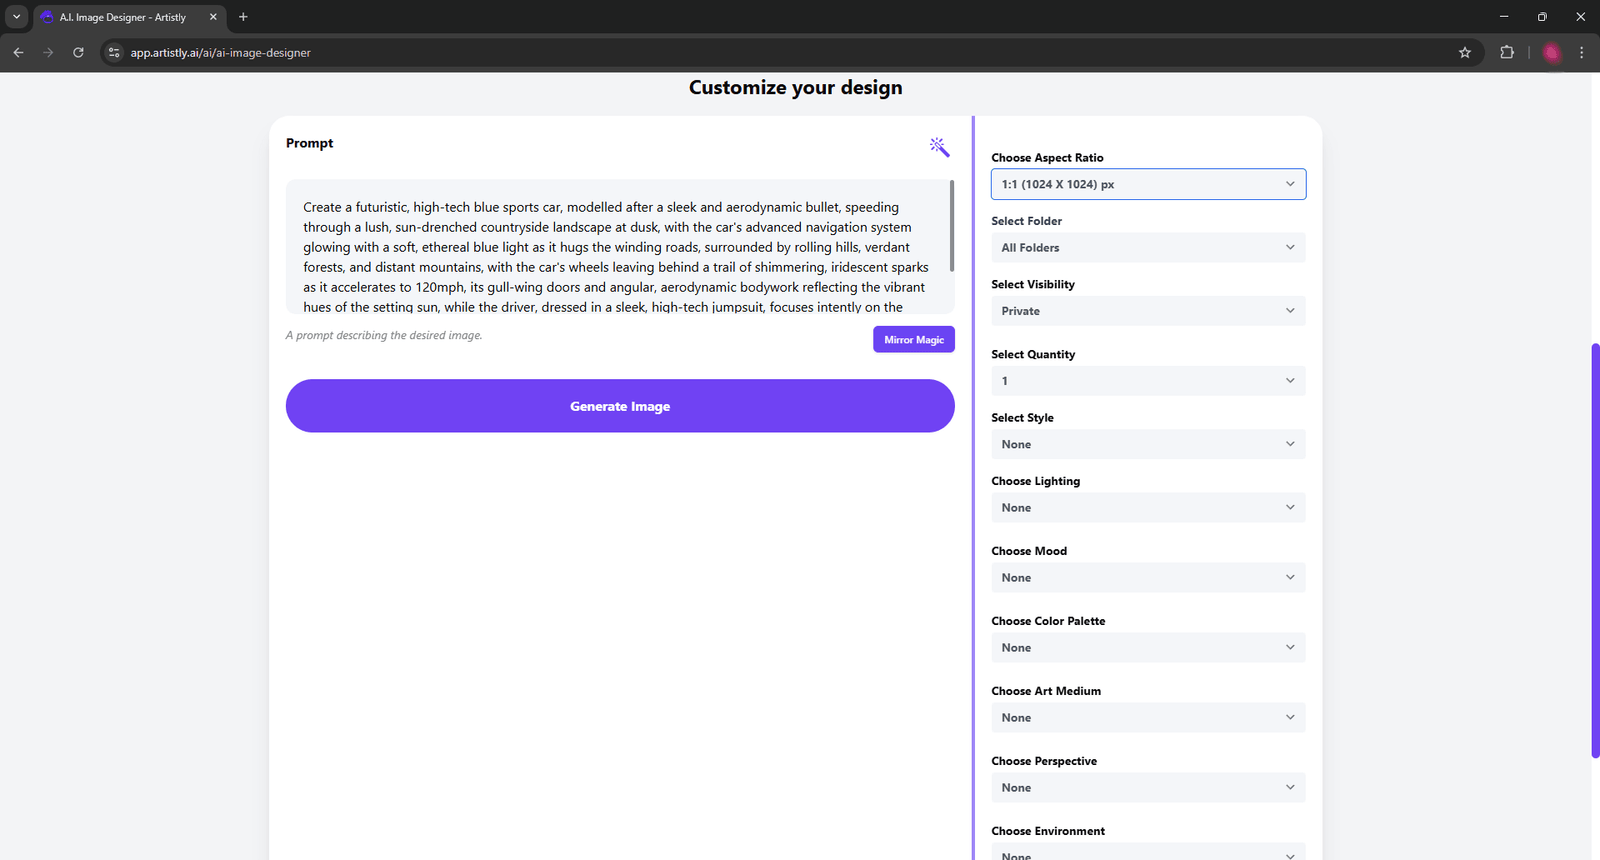
“Select Folder” and “Select Visibility” aren’t so important right now since you’re probably just starting to create images in Artistly. You need to create folders to use the “Select Folder” function. “Select Visibility” determines if your image will be private or public. Since we’re just experimenting with the tool, it’s best to leave the visibility in private. “Select Quantity” determines the amount of images you want to generate. You can generate up to 4 with this tool. I’m going to generate 2 images for now.
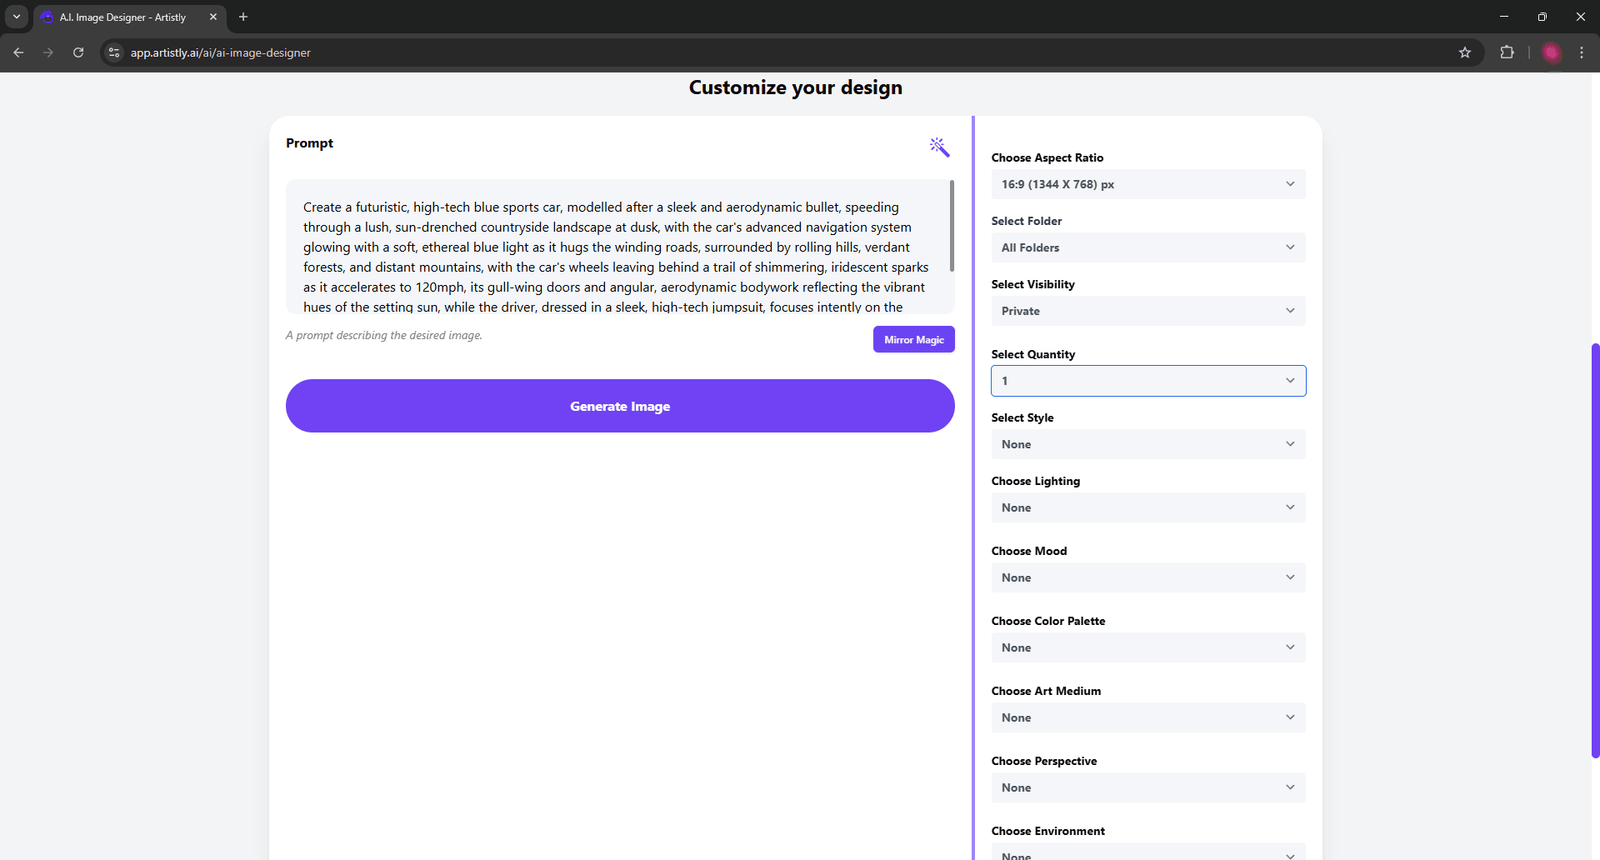
“Select Style” determines the overall style of your image. The options are “None,” “Photorealistic,” “Artistic,” “3D Animated,” and “2D Animated.” If set on “None,” the AI will automatically generate the image in photorealistic style unless specified otherwise in the prompt. I will be setting my image to “Photorealistic.” Feel free to experiment with this feature for as much as you like.
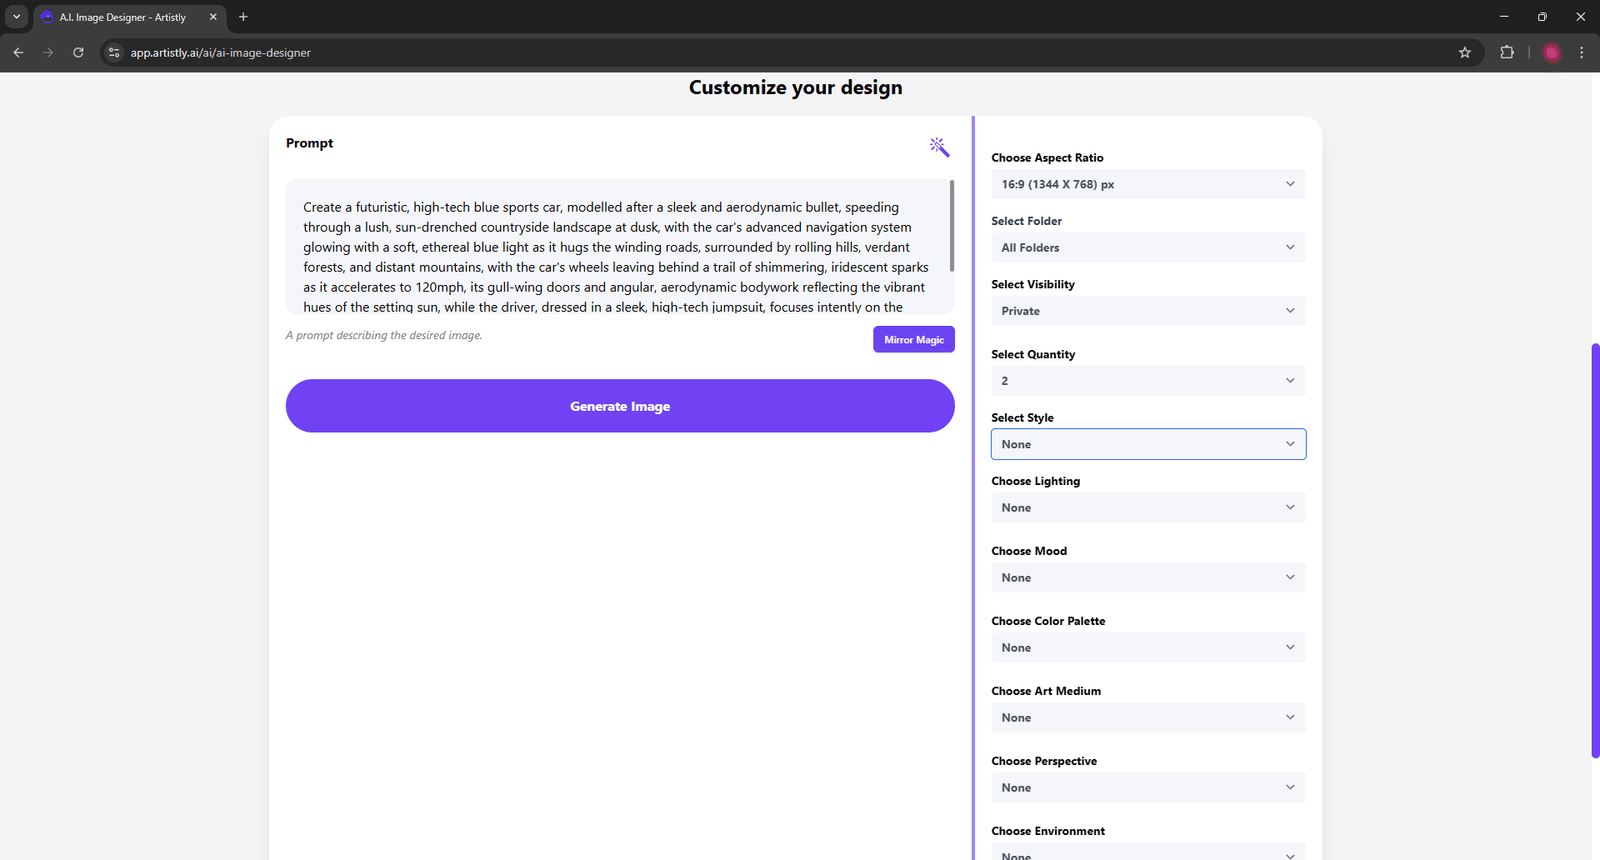
“Choose Lighting” will control the intensity of the lighting for your image. Think of it like when you want to edit a picture on your phone’s camera. You apply filters to the picture to enhance its look. The options are “None,” “Soft,” “Dramatic,” “Natural,” and “High-Contrast.” Since I’m dealing with a rather energetic scene, I may want to choose the option “High-Contrast.” Again, you can experiment with this as much as you want!
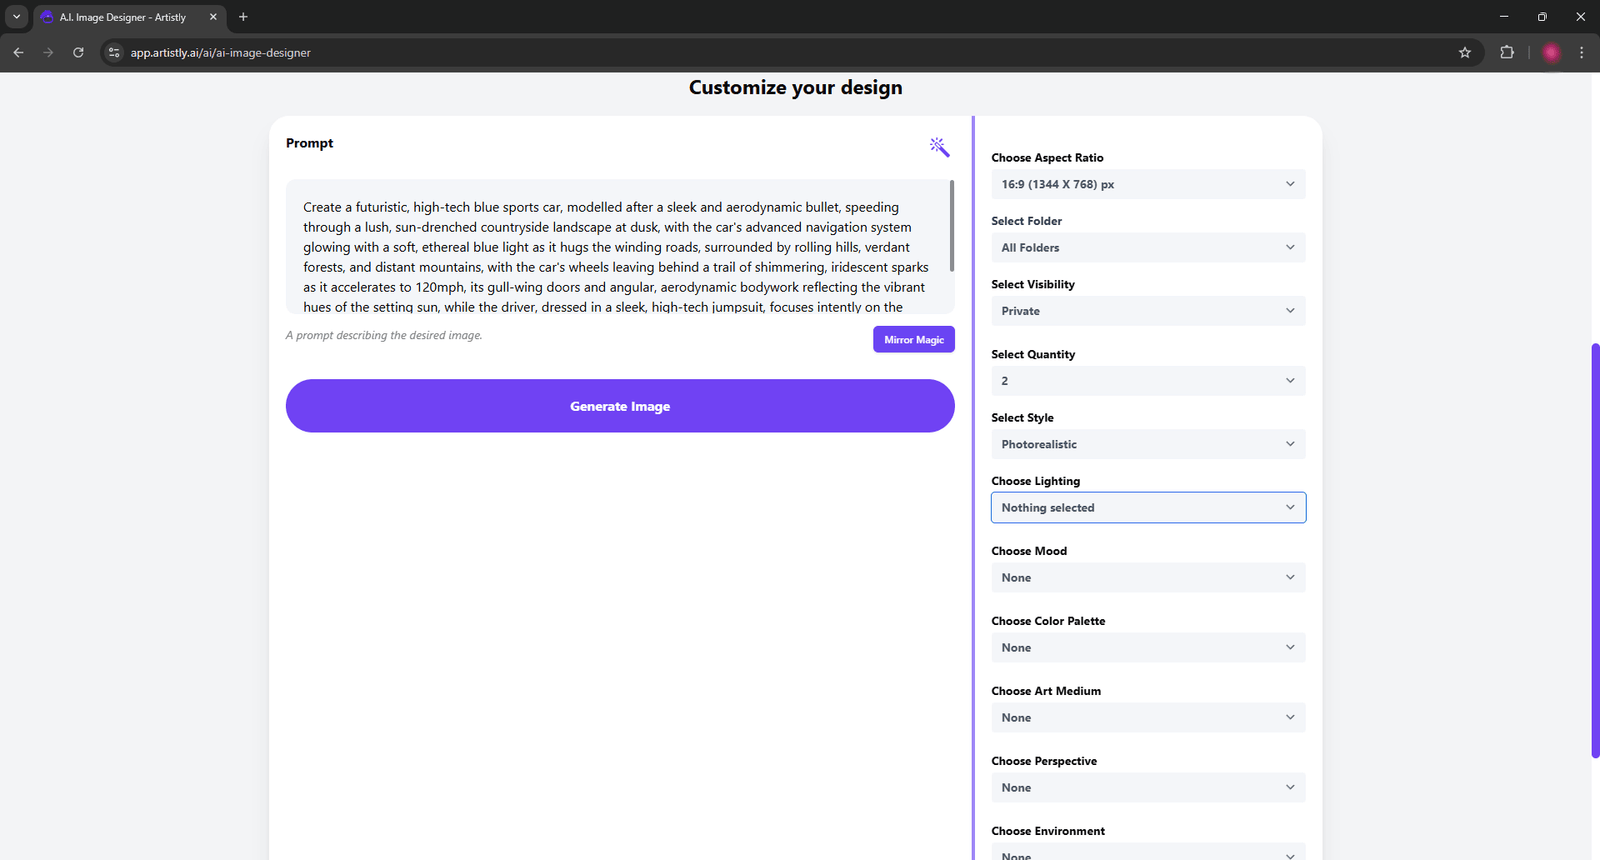
I have little to say about the “Choose Mood” option. It basically sets the overall vibe of the image. The options are “None,” “Cheerful,” “Mysterious,” “Calm,” and “Dark.” None of these moods fit my scene very well, so I’ll leave it in “None.”
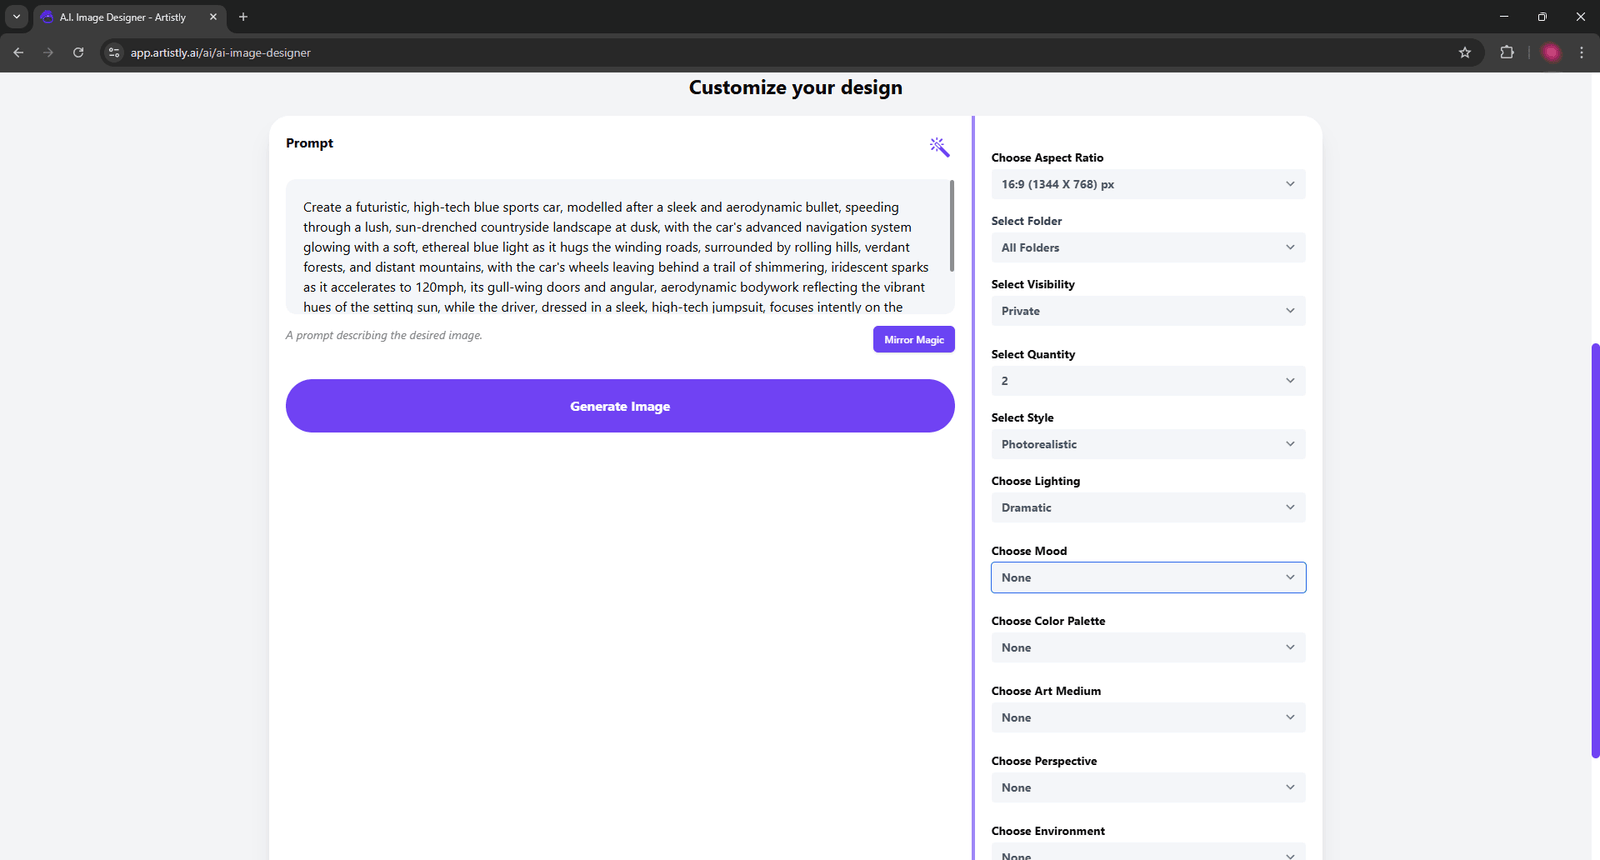
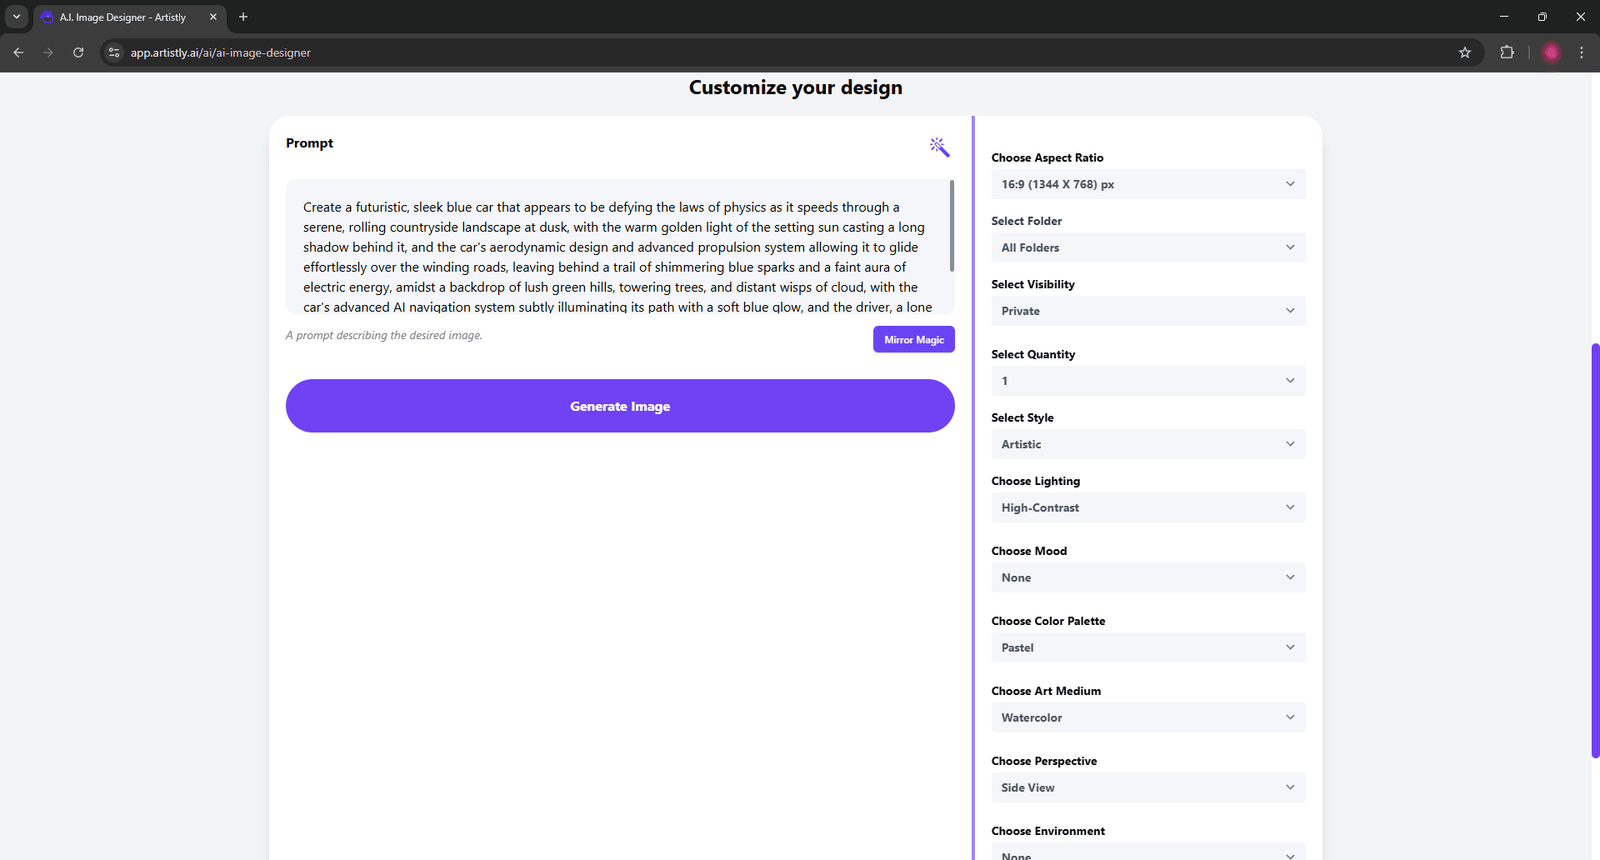
“Color Palette” is an option that determines the color theme of your image. The options are “None,” “Vibrant,” “Monochrome,” “Pastel,” and “Earthly.” “Vibrant” suits my prompt better. Monochrome means in black and white. Pastel colors are basically the soft colors used in Easter. “Earthly” means Earth tones. I chose “Vibrant” for my image.
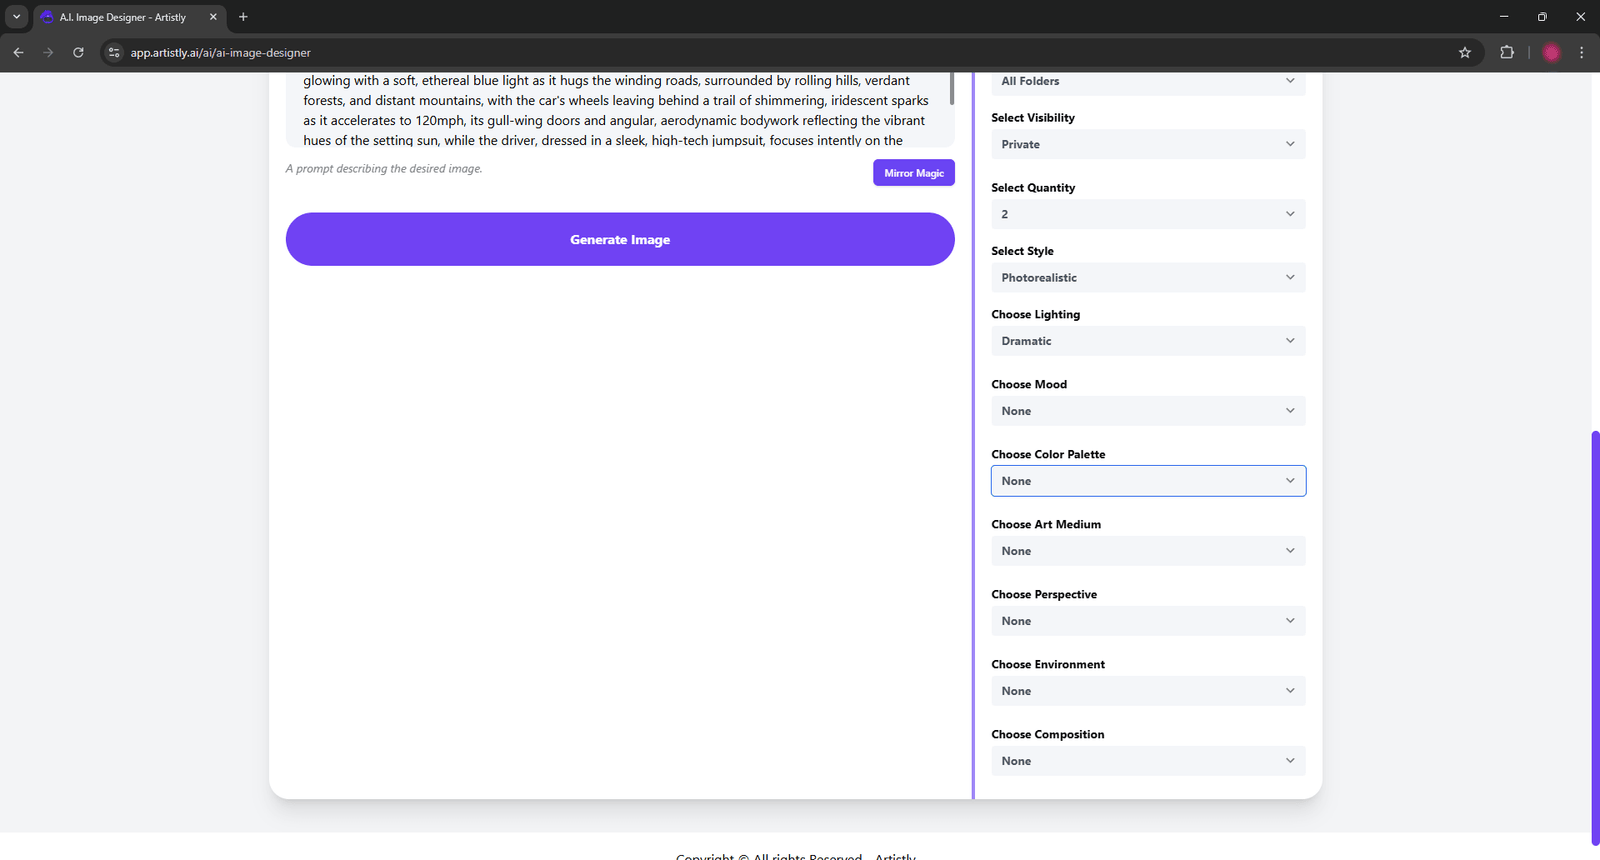
“Art Medium” controls the overall art style of your image. You can choose “Digital Painting,” “Watercolor,” “Ink,” or “Oil Painting.” Of course, you can keep it in “None” as well and see what happens. I recommend you don’t play with the art medium options if you want something realistic-looking and not something truly artistic. These options are pretty limited so I recommend you should specify the art medium in the prompt itself.
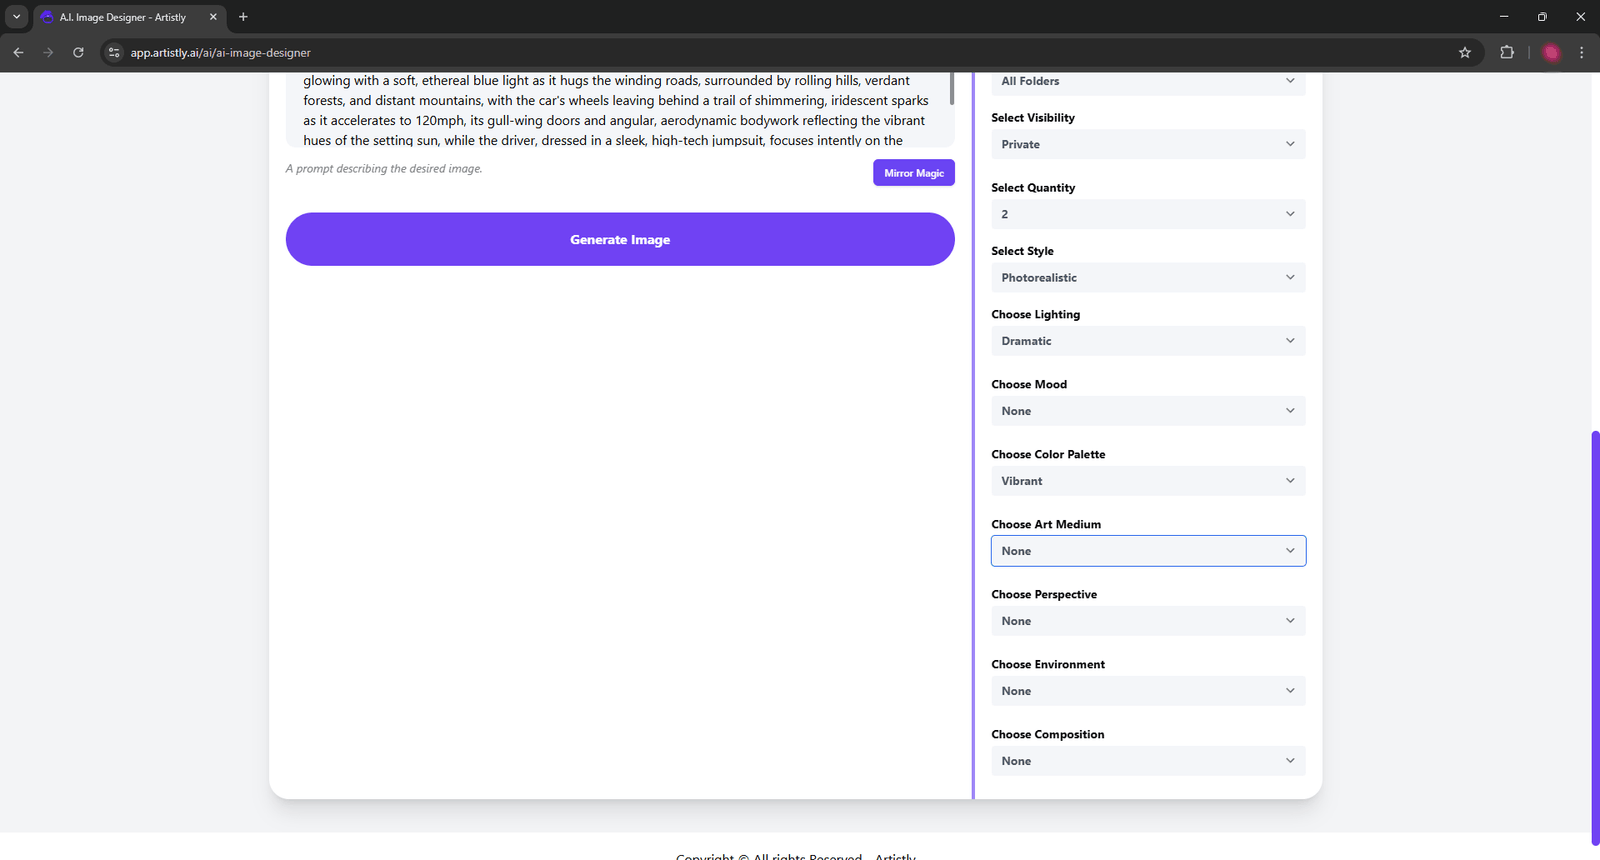
“Perspective” is the way the viewer looks at the subject in the image. “First Person,” “Bird’s Eye,” “Side View,” and “Isometric” are the options. Feel free to experiment with these functions.
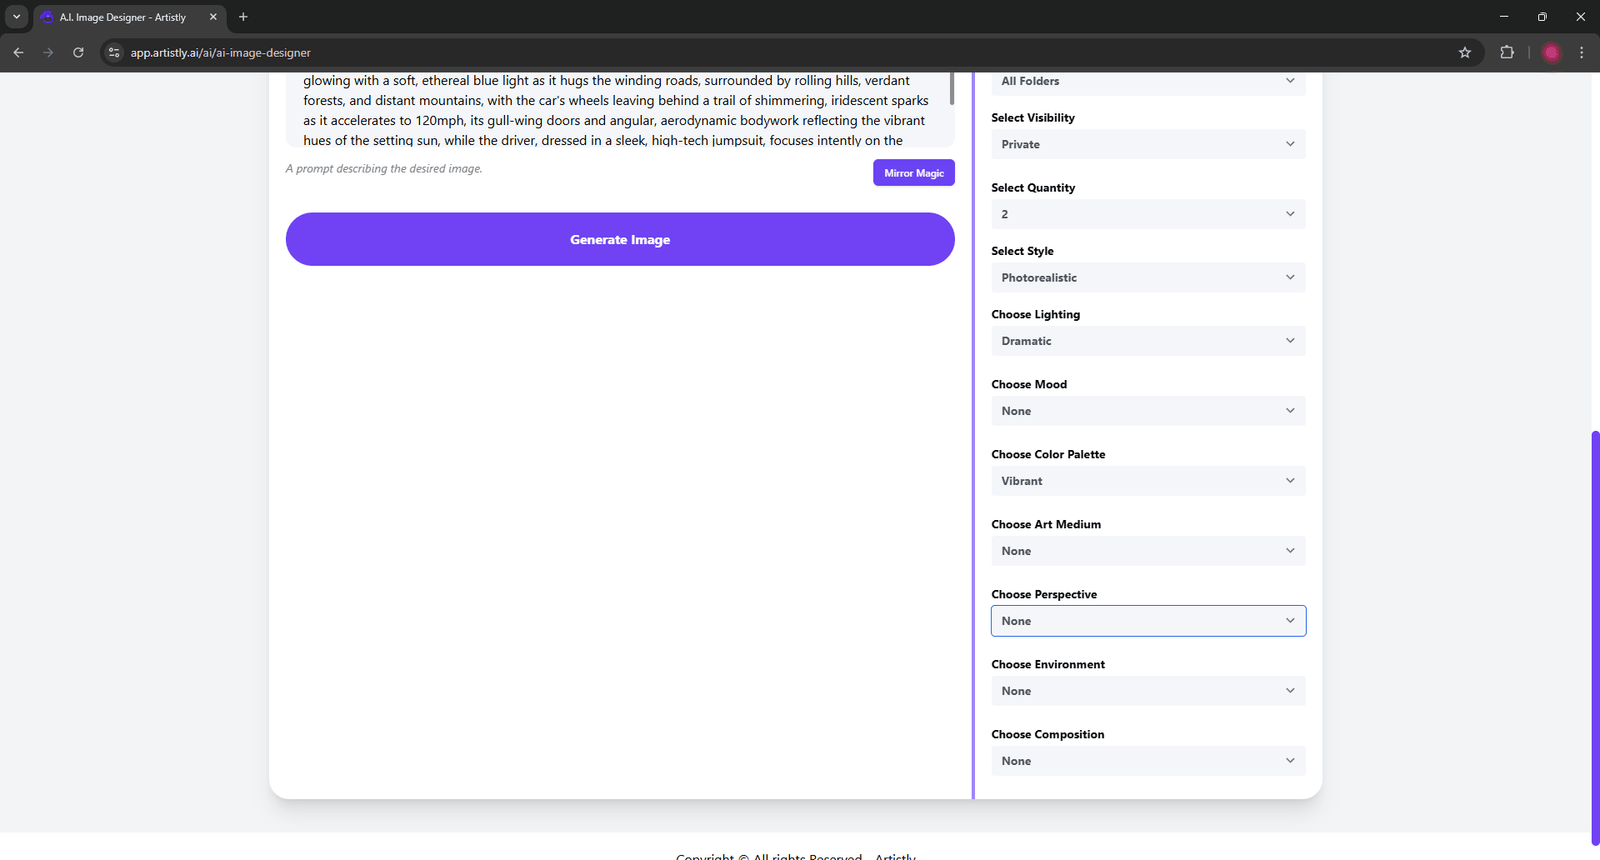
“Environment” is literally the location of the scene. It’s options are pretty limited, so I recommend you avoid this option if you want more flexibility.
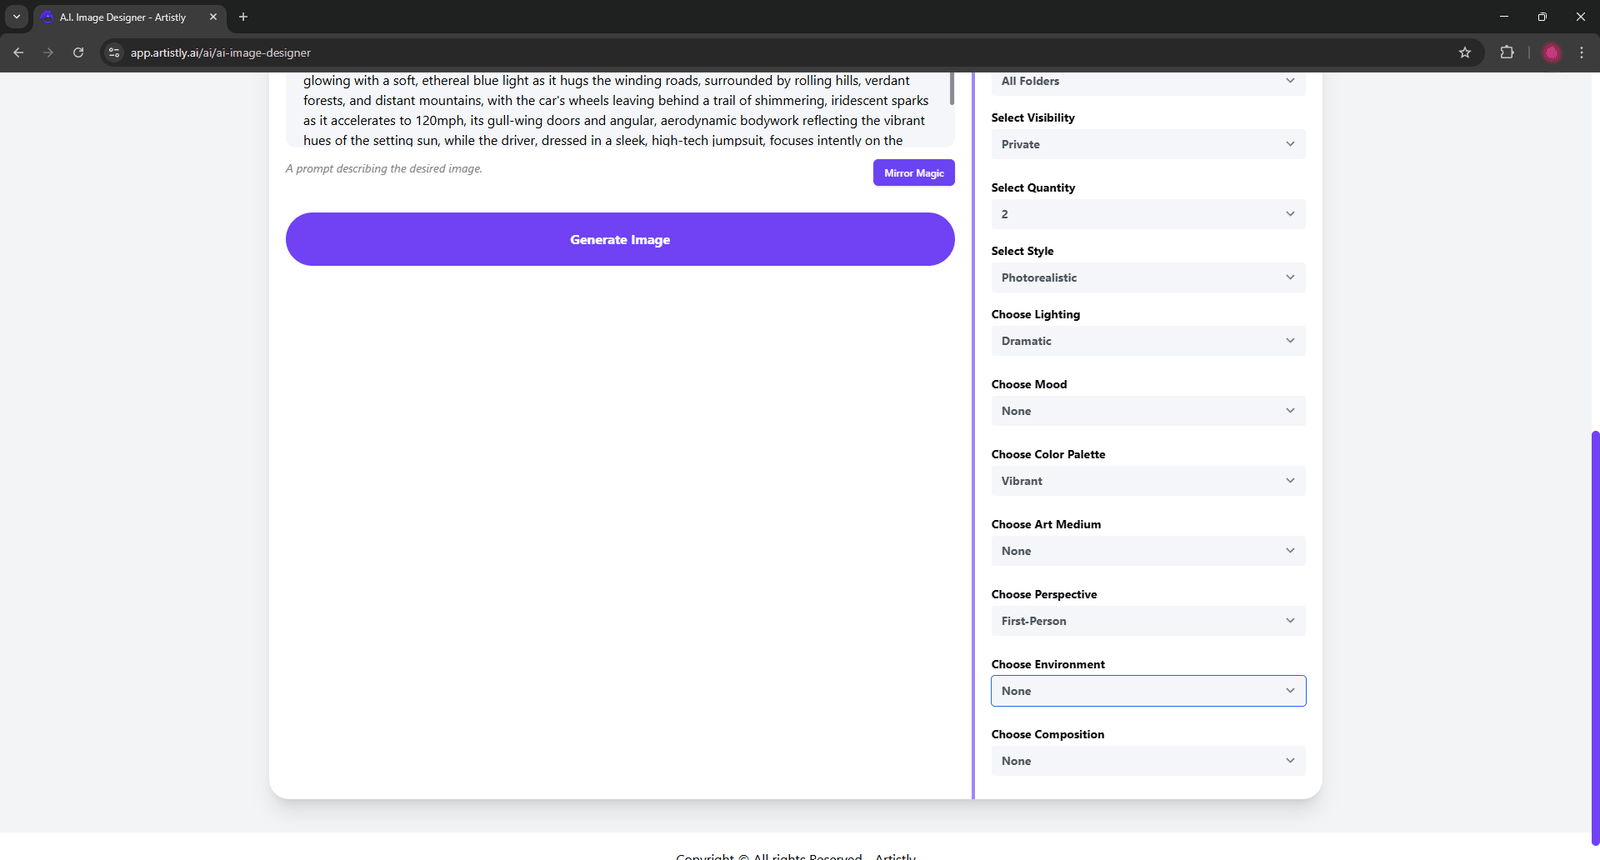
“Composition” sets specific rules for the image generation. The options are “none,” “Close-Up,” “Wide Angle,” “Symmetrical-Asymmetrical,” “Minimalist,” and “Busy.”
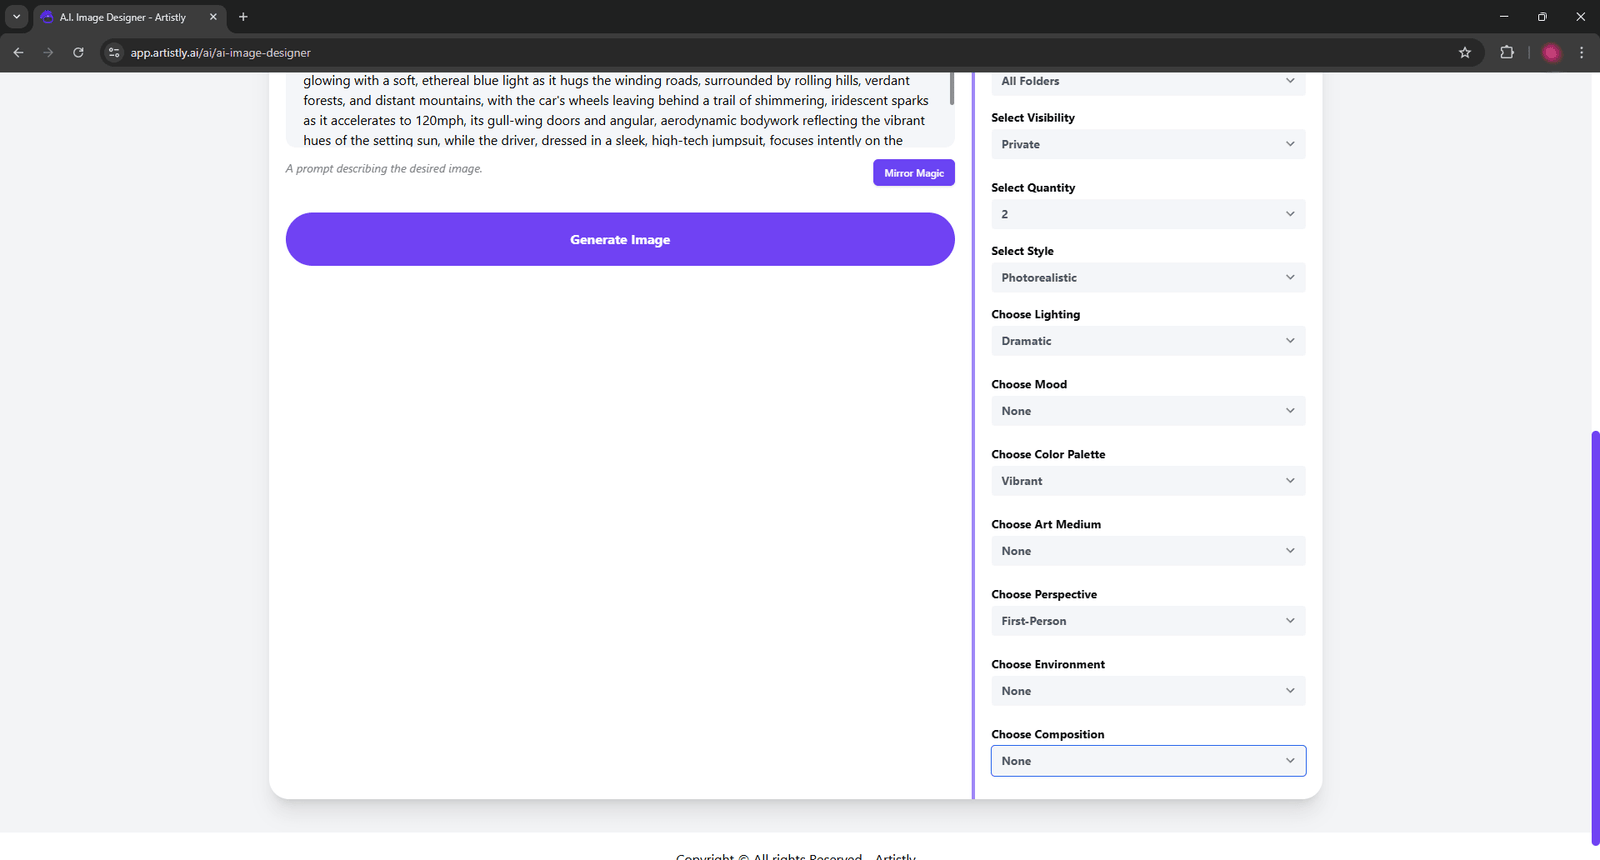
When you hit Generate Image, the AI will do its magic and generate your image(s) in just a few seconds.
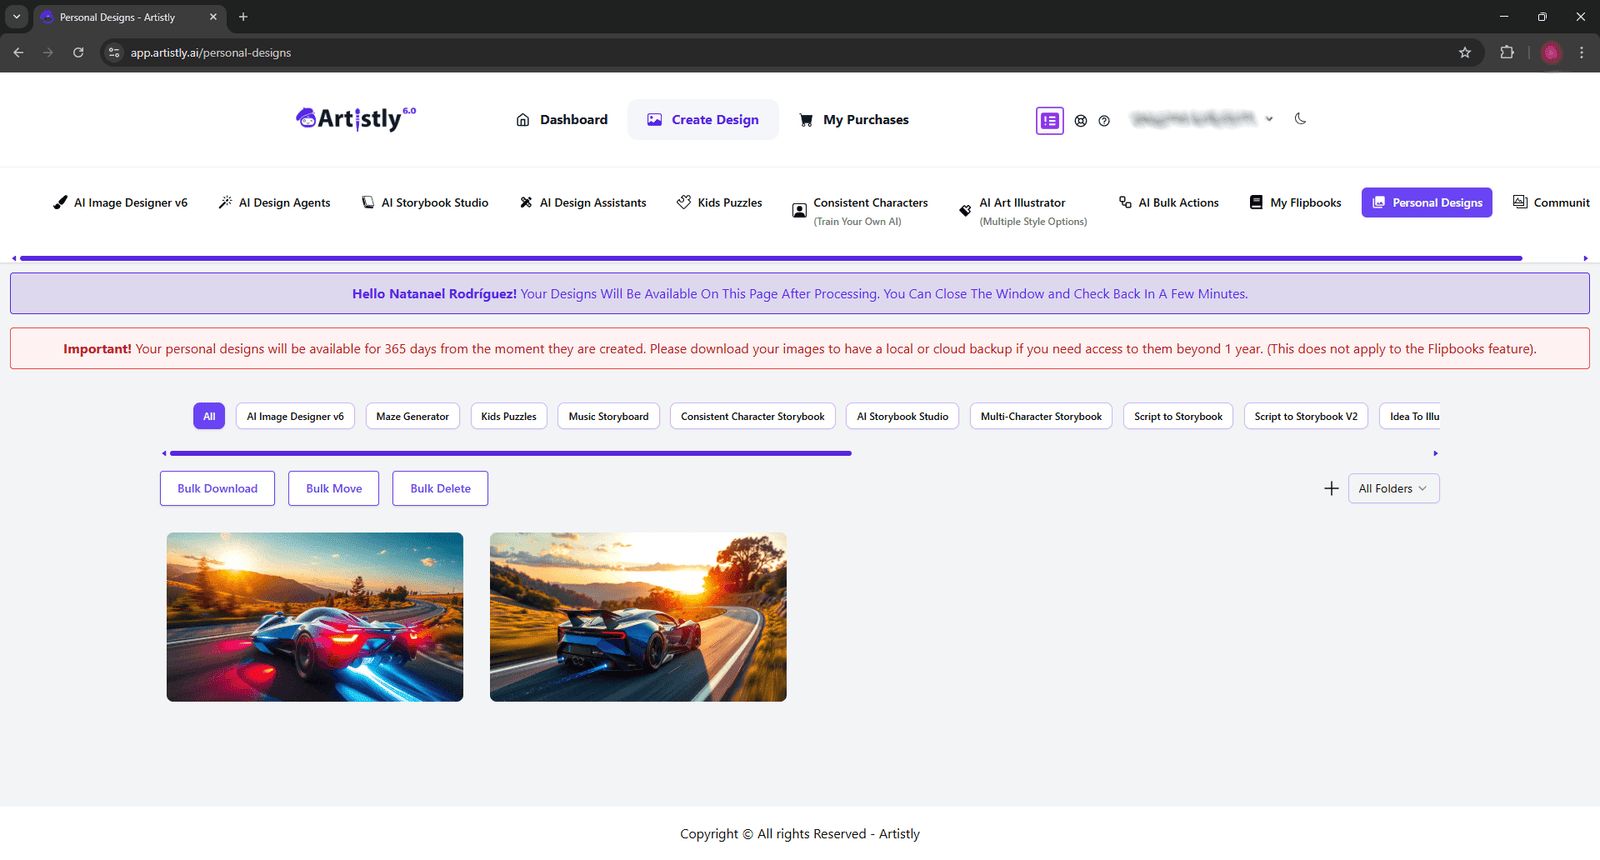
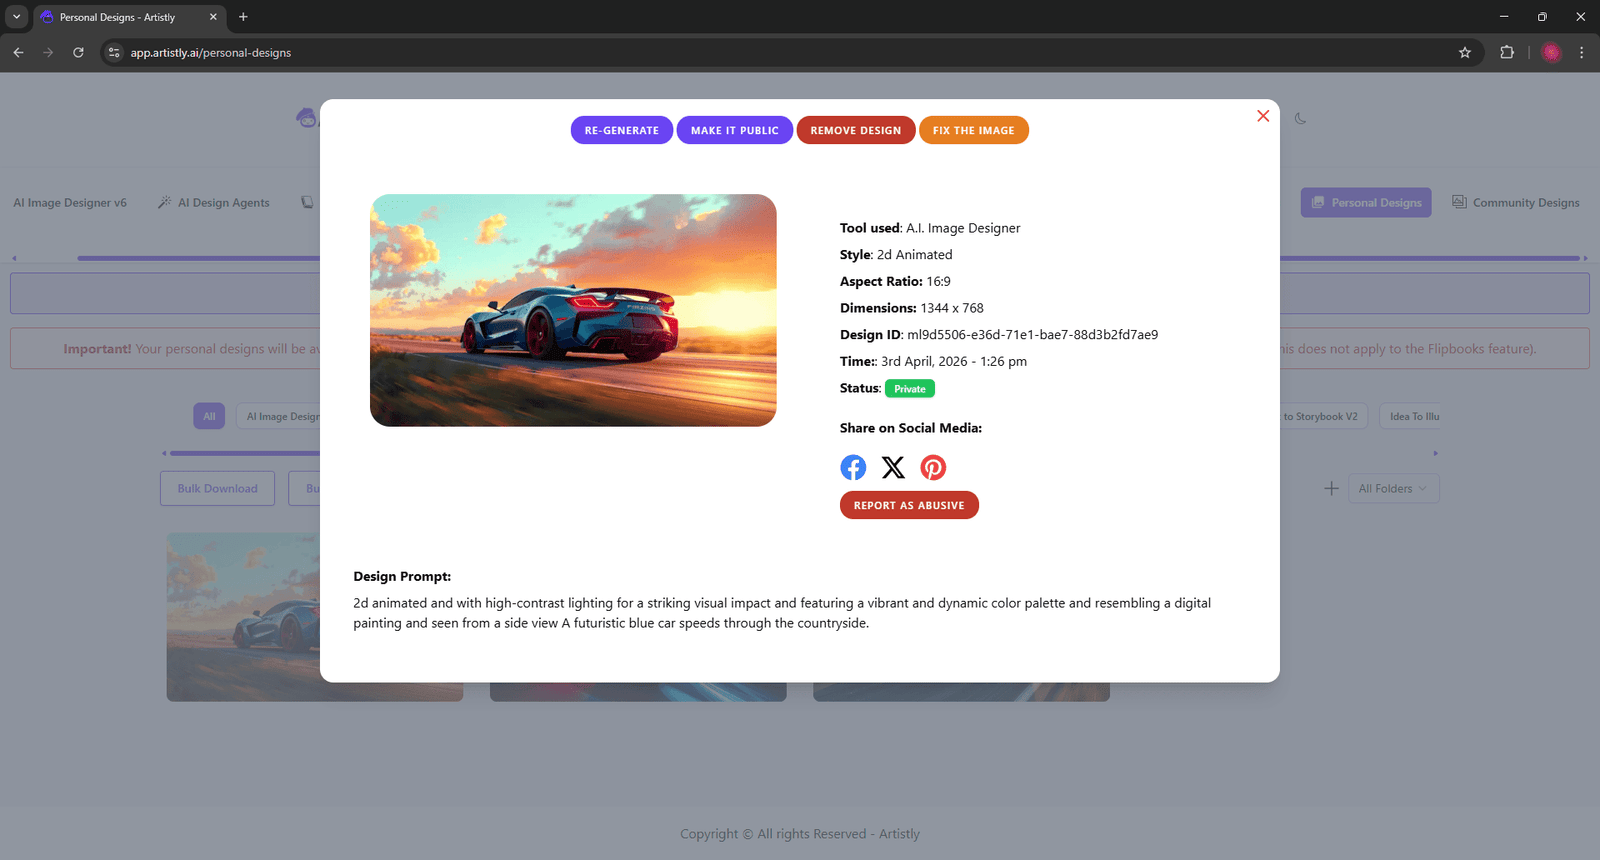
Here’s the same basic prompt we started with. But this time, some of the settings are different.
This image doesn’t look too different in style from the other two. Let’s try even more modifications.
Here are the changes I made.
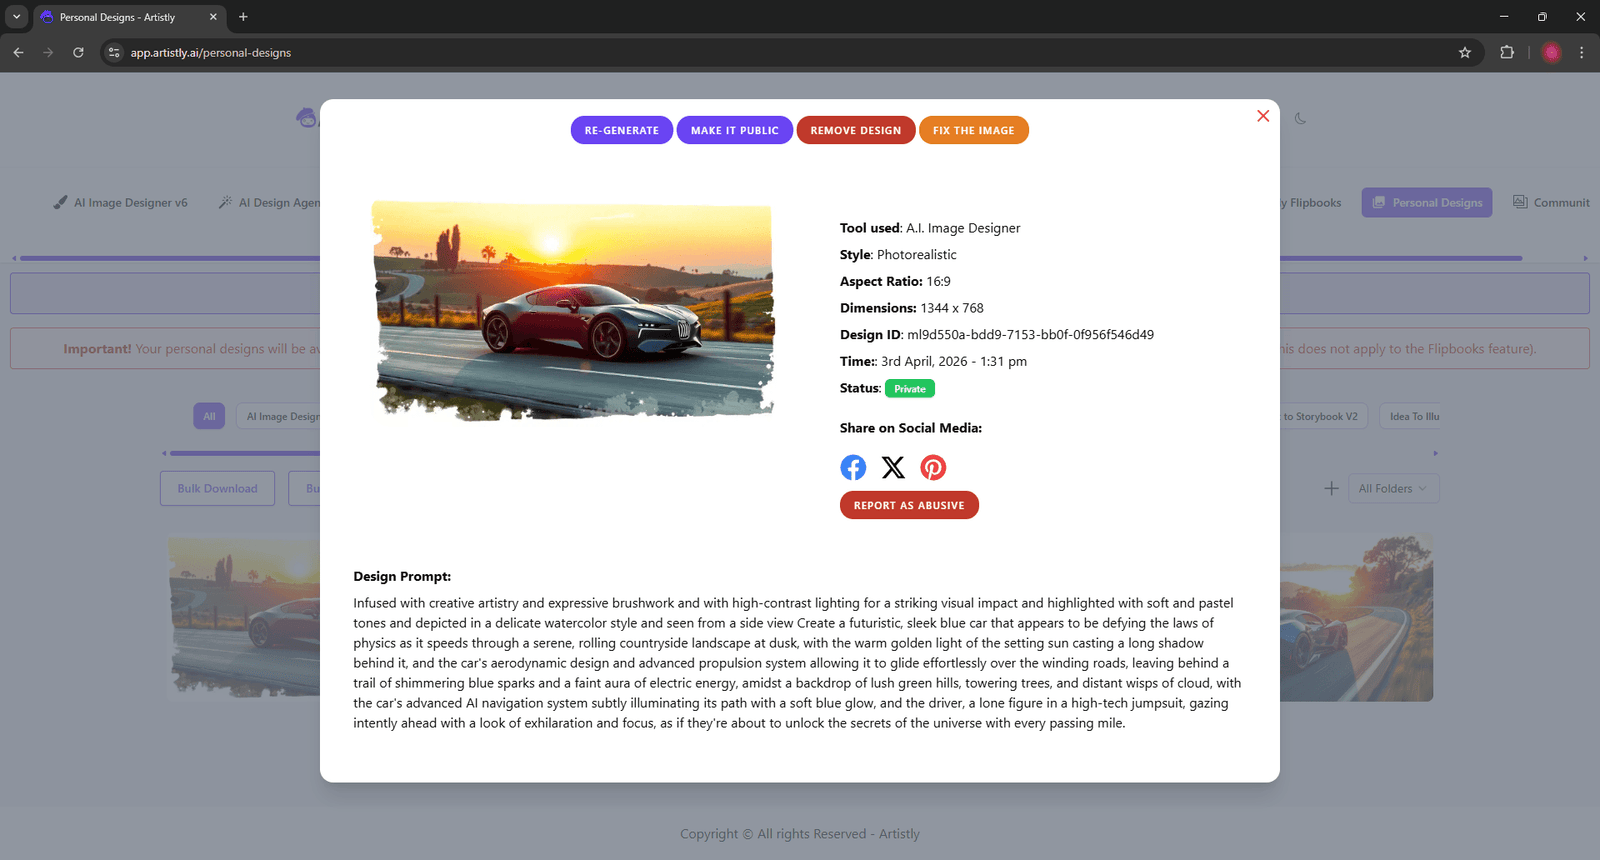
The style of this image looks significantly different from the rest. Playing with the options does pay off.
For a beginner, this tool is great for specifying certain aspects of the image generation without breaking a sweat over the prompt. However, AI image generation works best when everything is specified in the prompt. For now, feel free to play around with the options of Artistly’s v4 Image Designer.
Remember, if you want to try it out for yourselves, you can get Artistly by clicking this affiliate link that’s totally not a scam or anything of the sorts. 😐 Still, I don’t deserve immediate trust. I’ll see you again soon with yet another tutorial. Peace.